
A booking widget earns its place only if it takes reservations, processes payments through a hosted or PCI-compliant method, collects signed waivers, syncs time slots to a real calendar, and fires off confirmations without staff lifting a finger. Some booking tools are built around that exact list for escape rooms, which is why operators prefer them over general booking tools. Get those pieces right and no-shows drop, admin time shrinks, and your front-of-house staff stops babysitting a spreadsheet.
TL;DR:
- Implement a slot-first booking flow that displays availability before collecting guest details or payment to reduce abandoned bookings.
- Use a mobile-optimized, white-label widget that automatically syncs with your calendar and supports native group and pricing logic.
- Outsource payment processing via hosted fields to minimize PCI scope and ensure compliance, while maintaining ADA accessibility standards.
- Conduct thorough testing involving full reservations, declined cards, and accessibility checks before going live to prevent support issues later.
- Riddlio’s specialized escape-room booking system offers built-in styling, scheduling, payment, waiver management, and real-time calendar sync at affordable monthly pricing.
Table of Contents
- Core design principles for an escape-room booking form
- Payments, waivers, scheduling and integrations: the technical checklist
- How to customise and embed a booking widget that fits your venue
- Testing, QA and launch checklist
- What changes when the booking form actually works
- Where Riddlio fits into this checklist
- Sources
- FAQ
Core design principles for an escape-room booking form
Most booking form advice comes from restaurants and hair salons. Escape rooms are different: you’re selling a fixed-capacity, timed experience to groups, not individuals, and every mistake in the form costs you a slot you can’t resell that day.
The flow has to follow how people actually book a game. Guests pick a time slot first, then enter guest details, then accept the waiver, then pay. Reverse that order and you’ll see abandoned bookings climb, because nobody wants to hand over a credit card before they know if their preferred slot is even open.
A few principles separate a form that converts from one that leaks bookings; see this hotel check-in process workflow for useful ideas on operational flow design that can inspire your booking form setup.
- Slot-first flow: show availability before asking for personal details or payment.
- Mobile-first embed: most bookings happen on a phone, so the widget needs to load fast and resize cleanly without horizontal scrolling.
- Group logic built in: player counts, per-person pricing and deposit rules need to be native to the form, not bolted on with a “notes” field.
- White-label styling: the widget should match your fonts, colours and logo so guests never feel like they’ve left your site.
- Hosted payment fields: keep card data off your own servers wherever possible.
- Accessible by default: proper labels, visible focus states and plain-language error messages, checked regularly rather than once at launch.
Pro Tip: If your form asks for anything you don’t strictly need to run the game (birthdate, referral source, marketing opt-ins as a required field), cut it. Every extra field is a chance for someone to give up halfway through.
On payments specifically, PCI DSS guidance recommends a wholly outsourced third-party payment page or hosted payment fields, so cardholder data never touches your own servers. For a small venue without a dedicated IT team, that’s not a nice-to-have. It’s the difference between a manageable compliance footprint and one that requires a security audit you’re not equipped to run.
Payments, waivers, scheduling and integrations: the technical checklist
Before you commit to a widget or start customising one, work through these six checks in order. Skipping any of them tends to surface as a support ticket during your first busy weekend.
- Confirm the payment approach. A wholly outsourced payment page reduces your PCI scope the most; an iFrame with hosted fields is a reasonable middle ground; a fully custom form that touches raw card numbers puts the heaviest compliance burden on you.
- Set your deposit policy. Decide whether guests pay in full or leave a deposit, and write down how refunds and chargebacks get handled before your first dispute, not during it.
- Map out waiver logic. Confirm exactly when the waiver is required, how it’s signed (typed name, drawn signature, or both), and how it’s stored and linked back to the specific booking.
- Lock in scheduling rules. Set slot length, buffer time between games, room-specific calendars, and confirm the system actually prevents double-booking rather than just warning about it.
- Check calendar sync. If your staff run their day off Google Calendar, confirm the widget pushes bookings there in real time, not on a delayed batch job.
- Review integration hooks. Webhook support, CRM connections and analytics feeds matter if you’re already using marketing tools, so confirm the widget talks to them before you commit.
Staff permissions deserve their own line item. Not everyone on your roster needs to see payment details or guest phone numbers, so role-based access should be configured before launch, not retrofitted after someone notices the gap.
How to customise and embed a booking widget that fits your venue
Getting the technical setup right is one job. Making the widget feel like part of your site, rather than a bolted-on third-party box, is another. Here’s the order that avoids rework.
Step 1: Choose your embed method. An inline script gives you the most styling control but keeps more payment logic on your own page. An iFrame isolates the widget cleanly and is common for hosted payment fields. A fully hosted booking page carries the lowest PCI scope but the least visual control. Pick based on how much design flexibility you actually need versus how much compliance overhead you want to own.
Step 2: Style it to match your brand. Upload your logo, set fonts and colours, and write the confirmation and arrival instructions in your own voice rather than the default template copy.
Step 3: Build your session templates. Set player limits per room, session duration, add-ons like photo packages, pricing tiers for groups, and buffer rules between back-to-back bookings.
- Confirmation emails should fire immediately.
- SMS reminders should go out a fixed window before the session, tuned to your no-show pattern.
- Waiver links should be embedded in the same message, not a separate follow-up.
- Arrival instructions (parking, entry door, what to bring) belong in the final reminder, not just the initial confirmation.
Step 4: Test on a staging account before going live, and keep a written note of your default settings and any custom CSS, so the next person who touches the widget isn’t reverse-engineering your choices from scratch.
Testing, QA and launch checklist
Run these checks before you point live traffic at the widget. A booking system that fails quietly on launch day costs you more than the week you’d spend testing it properly.
- Book a full test reservation end to end: slot selection, guest details, waiver signature, successful payment.
- Test a declined card deliberately, to confirm the error message is clear and doesn’t lock the guest out of retrying.
- Confirm the calendar sync actually shows the new booking on your staff calendar within a few minutes.
- Walk through the form using only a keyboard, then again with a screen reader, to catch anything a mouse-only test would miss.
- Verify staff access restrictions work as configured, and process at least one test refund to confirm the payment flow handles it cleanly.
- Check mobile responsiveness on an actual phone, over a slow connection, ideally on your venue’s own Wi-Fi.
Pro Tip: Have a staff member try to book a session using only your venue’s guest Wi-Fi, on the slowest phone in the building. If it breaks there, it’ll break for a customer standing in your lobby.
Accessibility testing isn’t a one-off box to tick. ADA small-entity guidance treats it as an ongoing obligation, and that responsibility sits with the venue even when a third-party widget is doing the technical work.
What changes when the booking form actually works
Fewer no-shows, less time spent chasing waivers over email, and a reporting view that finally tells you which time slots are underperforming, rather than guessing from memory. Those three things compound faster than most operators expect, because admin hours saved on a Tuesday show up as extra booking capacity by the weekend.
If there’s one habit worth adopting before a full launch, it’s running a two-week pilot with your own staff booking test sessions under real conditions. Have them try edge cases deliberately: a group that shows up ten minutes late, a payment that gets declined mid-transaction, a waiver that needs a second signer. The bugs that surface in those two weeks are the ones that would otherwise surface in front of a paying customer.
— Iosif Beraru
Where Riddlio fits into this checklist
Everything above describes what a booking widget needs to do. Riddlio was built specifically to do it for escape rooms, which means you’re not adapting a generic scheduling tool to fit time slots, player counts and waivers after the fact.
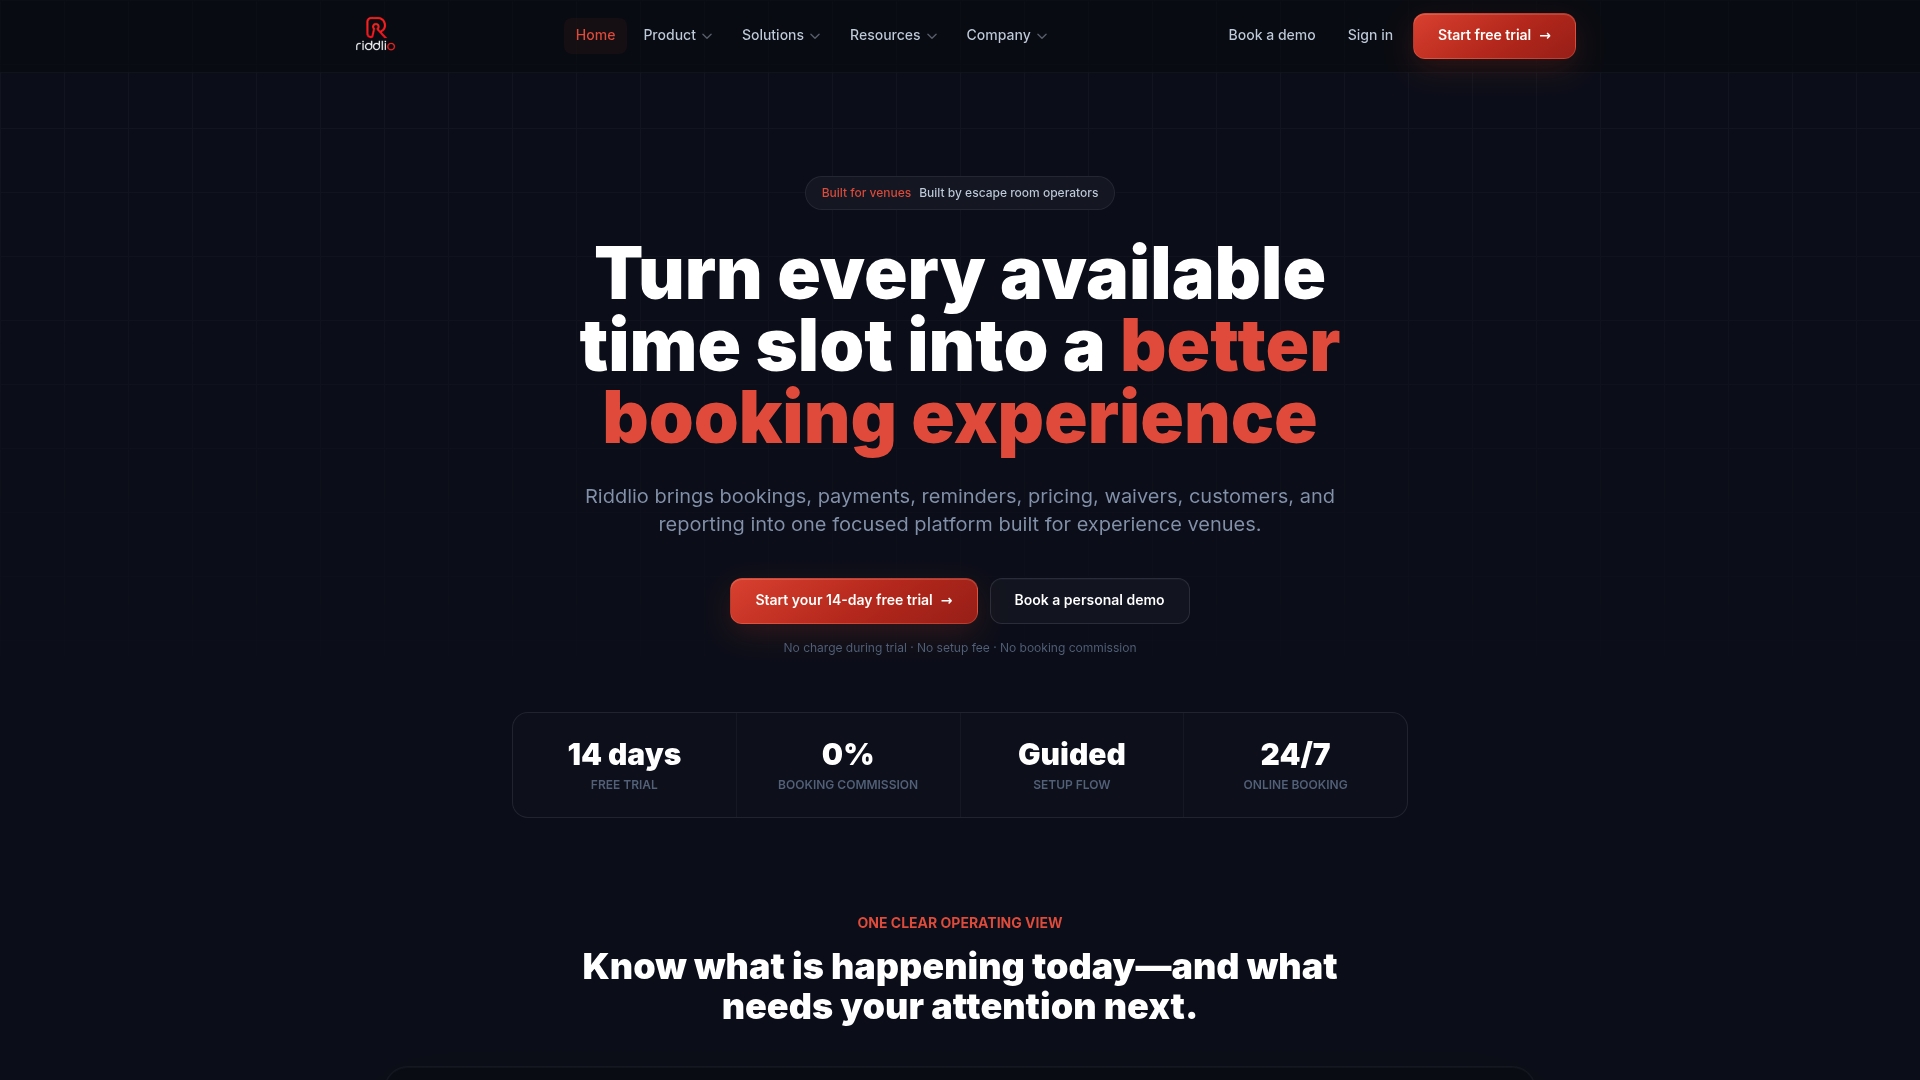
The white-label booking widget handles the styling side, so your booking page carries your logo and colours instead of a vendor’s. The online booking calendar manages room-specific scheduling and prevents double-booking automatically. Payment processing, waiver collection, and SMS and email reminders run through the same escape-room booking system, so confirmations and reminders go out without a staff member touching a keyboard, and the operational dashboard gives you the no-show and utilisation numbers this article talks about, in one place instead of three spreadsheets.
Riddlio runs on flat monthly pricing with no booking commission, starting with the Starter plan at a low monthly price, with Pro and Unlimited tiers available, plus an Enterprise tier on request. Check the full pricing breakdown and see which tier matches your venue’s booking volume, or get in touch for a demo before your next busy weekend.

Sources
Two sources are worth bookmarking before you finalise your widget setup: the PCI SSC small merchant guide on reducing PCI scope, and the ADA lodging guidance on serving guests who need help completing forms. Both apply directly to how you handle payments and accessibility on a booking page.
FAQ
What Is the Safest Way to Take Payments on a Booking Form?
A wholly outsourced payment page or hosted payment fields keep card data off your own servers, which PCI DSS guidance recommends for small merchants. This approach carries the lowest compliance burden compared with a fully custom checkout.
Does Using a Third-Party Widget Remove My Accessibility Responsibility?
No. ADA guidance makes clear that venues remain responsible for the accessibility of web-based services on their own sites, even when a third-party widget handles the technical work. You still need to verify keyboard navigation, labels and error messages work properly.
How Should a Booking Form Handle Group Sizes for Escape Rooms?
The form should capture player count as a required field tied directly to per-person pricing and room capacity limits, not as a free-text note. Riddlio’s booking widget builds this logic in natively, so group pricing and capacity limits enforce themselves at checkout.
What Does Riddlio Cost for a Booking Widget?
Riddlio’s plans start at $29 per month for Starter, $79 for Pro and $199 for Unlimited, with Enterprise pricing available on request. Full details sit on the pricing page.
How Do I Test a Booking Widget Before Launch?
Run a full booking end to end, including a deliberately declined card and a screen-reader walkthrough, then confirm calendar sync and staff notifications fire correctly. A two-week staff pilot booking real test sessions tends to catch edge cases a single test run misses.